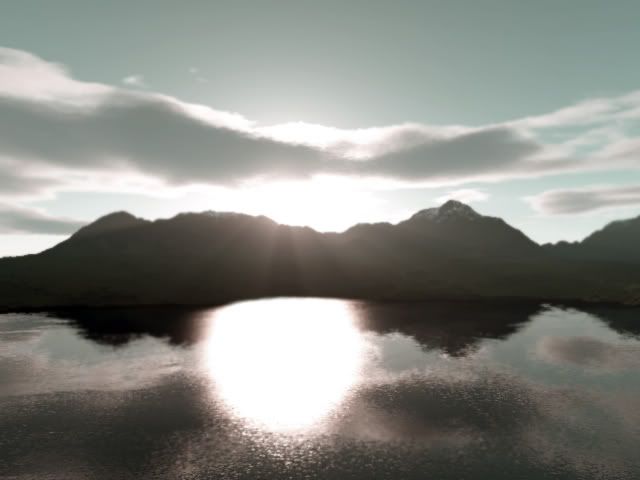
 Terragen
 is a scenery generator for Windows and the Mac OS. Terragen is free for personal non-commercial use.
A general guide with tutorials (older version)
List of other resources where you can find other tutorials---
If you're using the free version you're limited to a maximum of 513x513 height maps, if you're on a slower computer you may want to try a 129x129 or 257x257 height map. You can still make some nice stuff with it, there's not much that's disabled between the free and registered versions from what I can see. Anyway, here's how to get a DF world map into Terragen if you've never used it before:
Step 1: Enter Legends mode and choose the option to export a detailed map, you'll be confronted with this screen:

Navigate down to 'Elevations respecting lake and ocean floors' and hit Enter to export to your Dwarf Fortress folder.
Step 2: Terragen likes 24-bit uncompressed .TGA, or 8/16-bit .SGI images. Open up your newly exported image in your editor of choice and change the image size to 513x513 (more on this later).
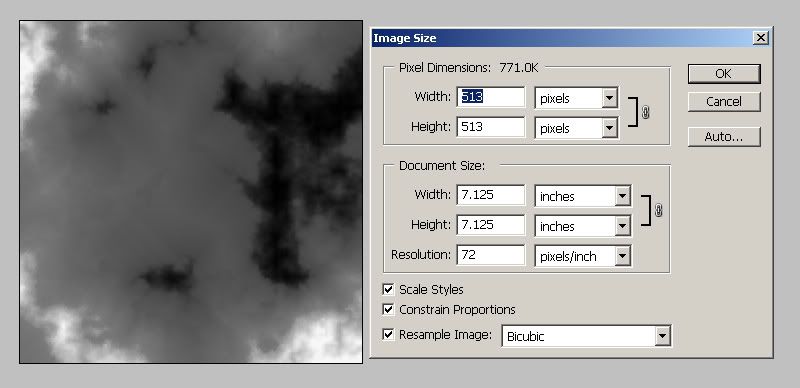
Save as an uncompressed 24-bit .TGA file, name it whatever you want.
Step 3: Open up Terragen and take a deep breath.
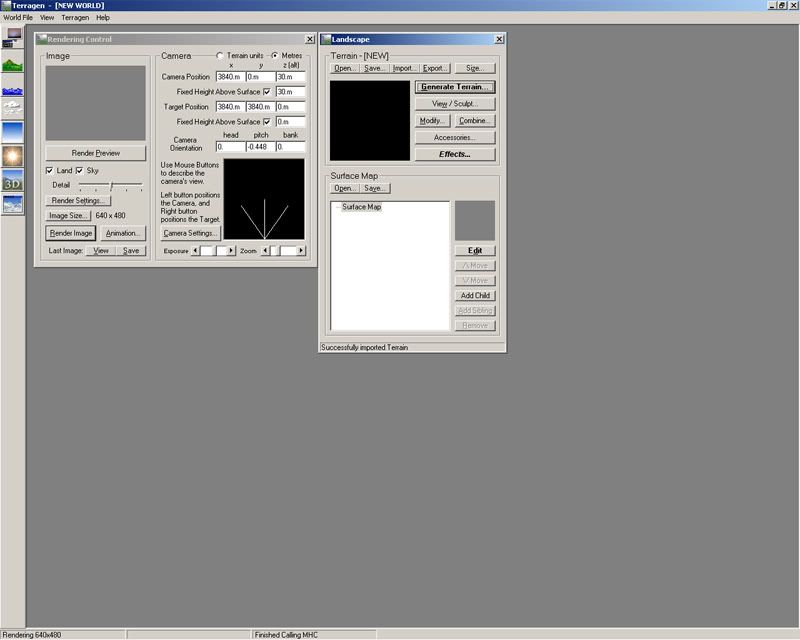
Don't panic, we're only going to be dealing with this little area in the Landscape window:
 Step 4
: Click "Size..." from the Landscape window and you'll be confronted with this:
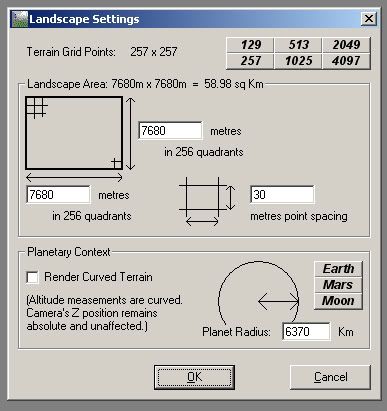
Click the 513 button at the top, this is going to set Terragen up for our 513x513 height map, click Yes to all of the questions that it asks before hitting Ok.
Step 5: Now click "Import..." in the Landscape window and you'll be confronted with this:
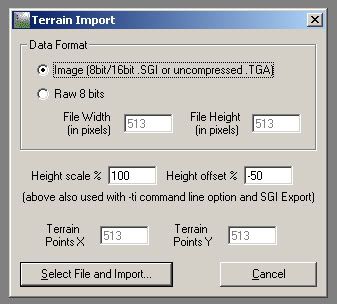
Click "Select File and Import" and select your 513x513 24-bit uncompressed .TGA
Step 6: If nothing exploded, the Landscape and Render windows will look something like this:
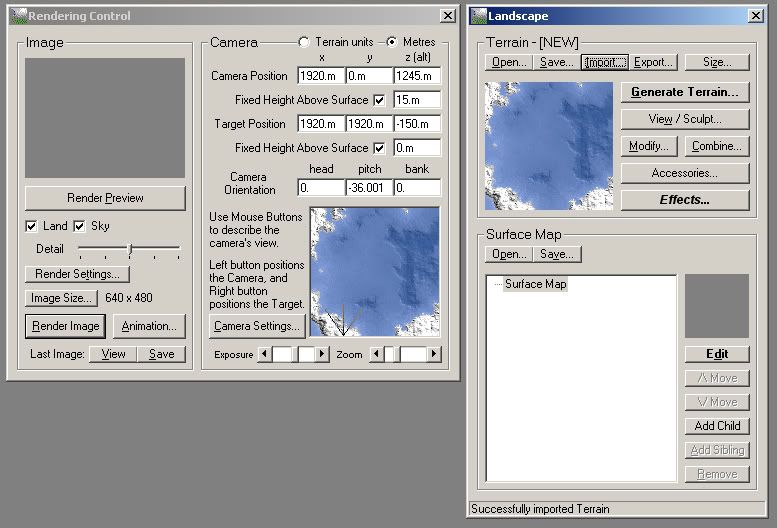
The blue is water, so we're going to have to edit that.
Step 7: Open up the Water options window (third icon from the top on the side bar):
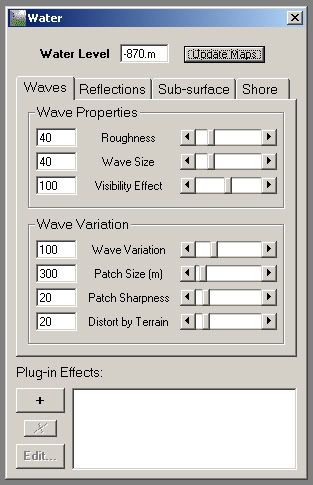
We're only concerned with the Water Level value at the top, so play with the numbers hitting "Update Maps" each time to see the changes in your Render/Landscape window. Mine looked about right at -870.m
Step 8: Once you have your water looking nice, it's time to check it out:
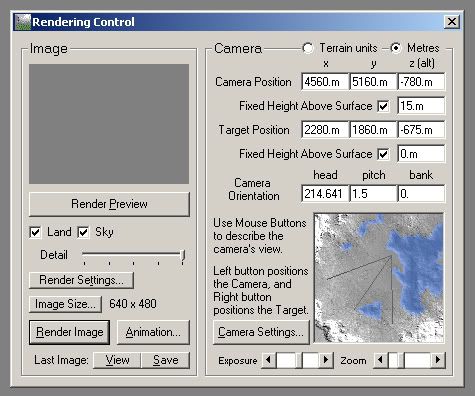
Make sure to ramp the Detail slider up all the way to the right if you're going to "Render Image". You can reposition the camera in the little mini-map by using your left and right mouse buttons. Sometimes you might have to fiddle with the Camera Position Z (alt) value because the camera can get a little weird as you move it around the landscape.
If you're going to Render Preview you might want to keep the Detail down.
You can "walk" around your map by hitting the 3D icon on the side bar, this is used as another way to set up the camera if that's more comfortable for you.
You can color your terrain through the Landscape window in the Surface area by adding children ("Add Child") or directly editing the default Surface Map, you can change bumpiness, limit colors based on elevation, etc. I am still trying to figure it all out.
If you want to scale down the elevations a bit you can click "Modify..." in the Landscape window after you've imported your height map and mess with the Height Range and Scale Vertical.

 Author
Topic: Terragen + New Map Export Options (Read 26718 times)

